
TopsCNC HEAVY
Description
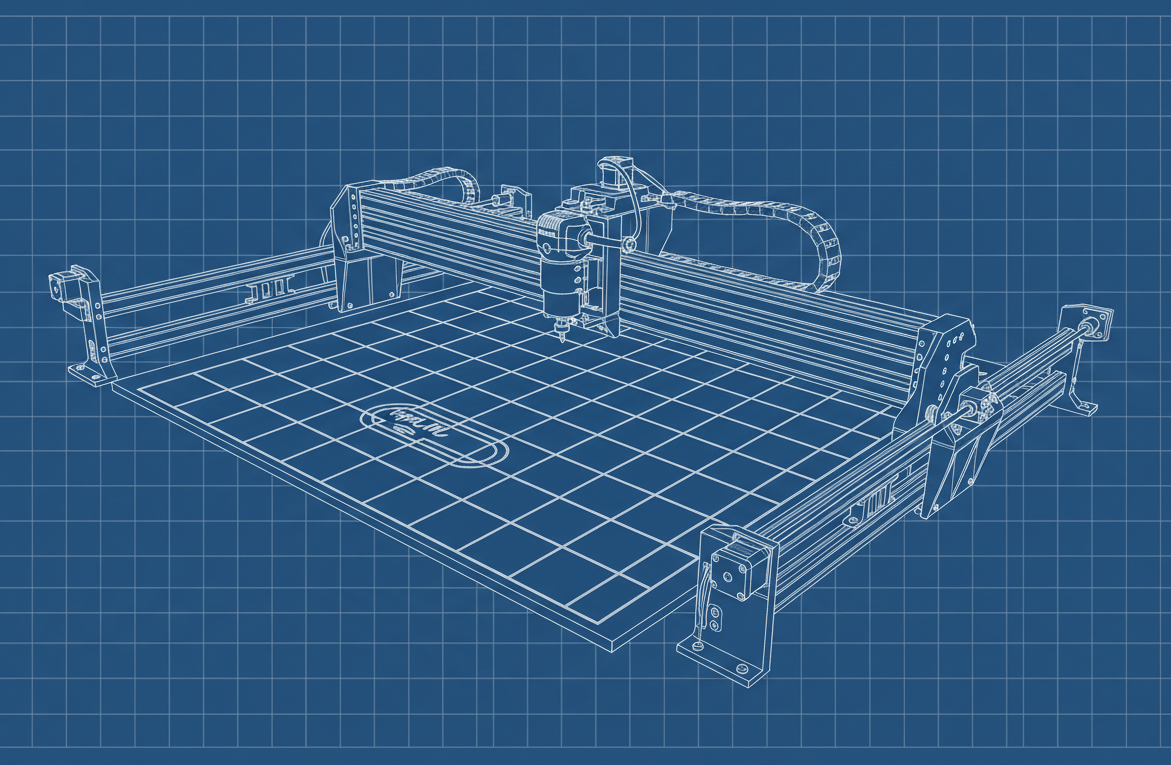
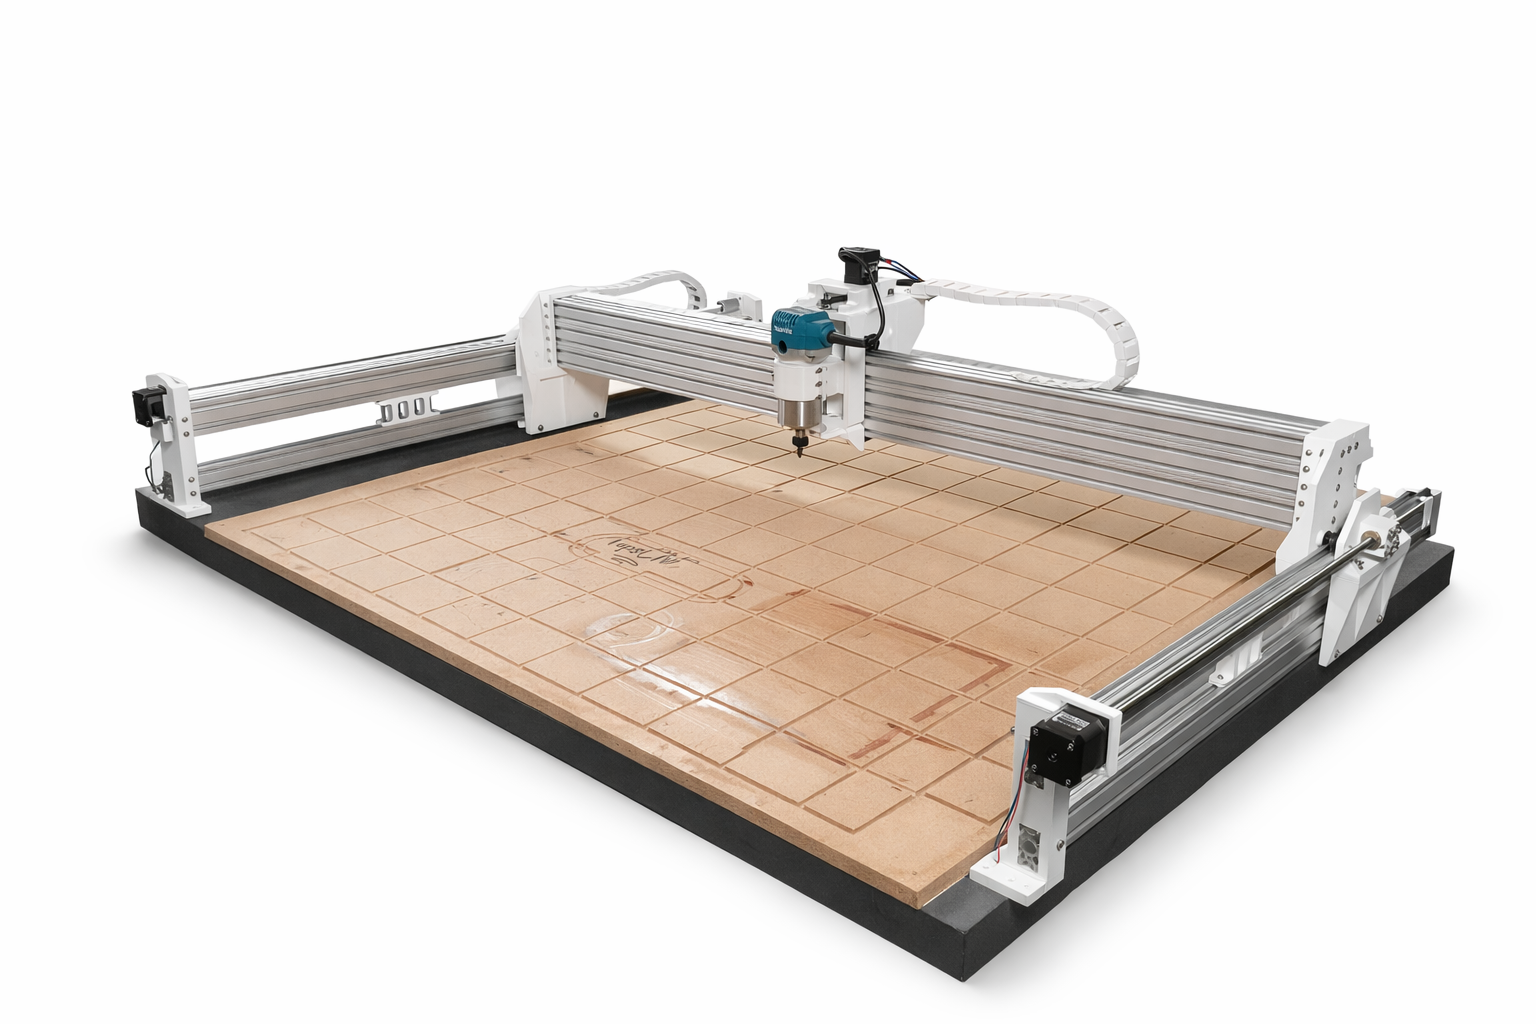
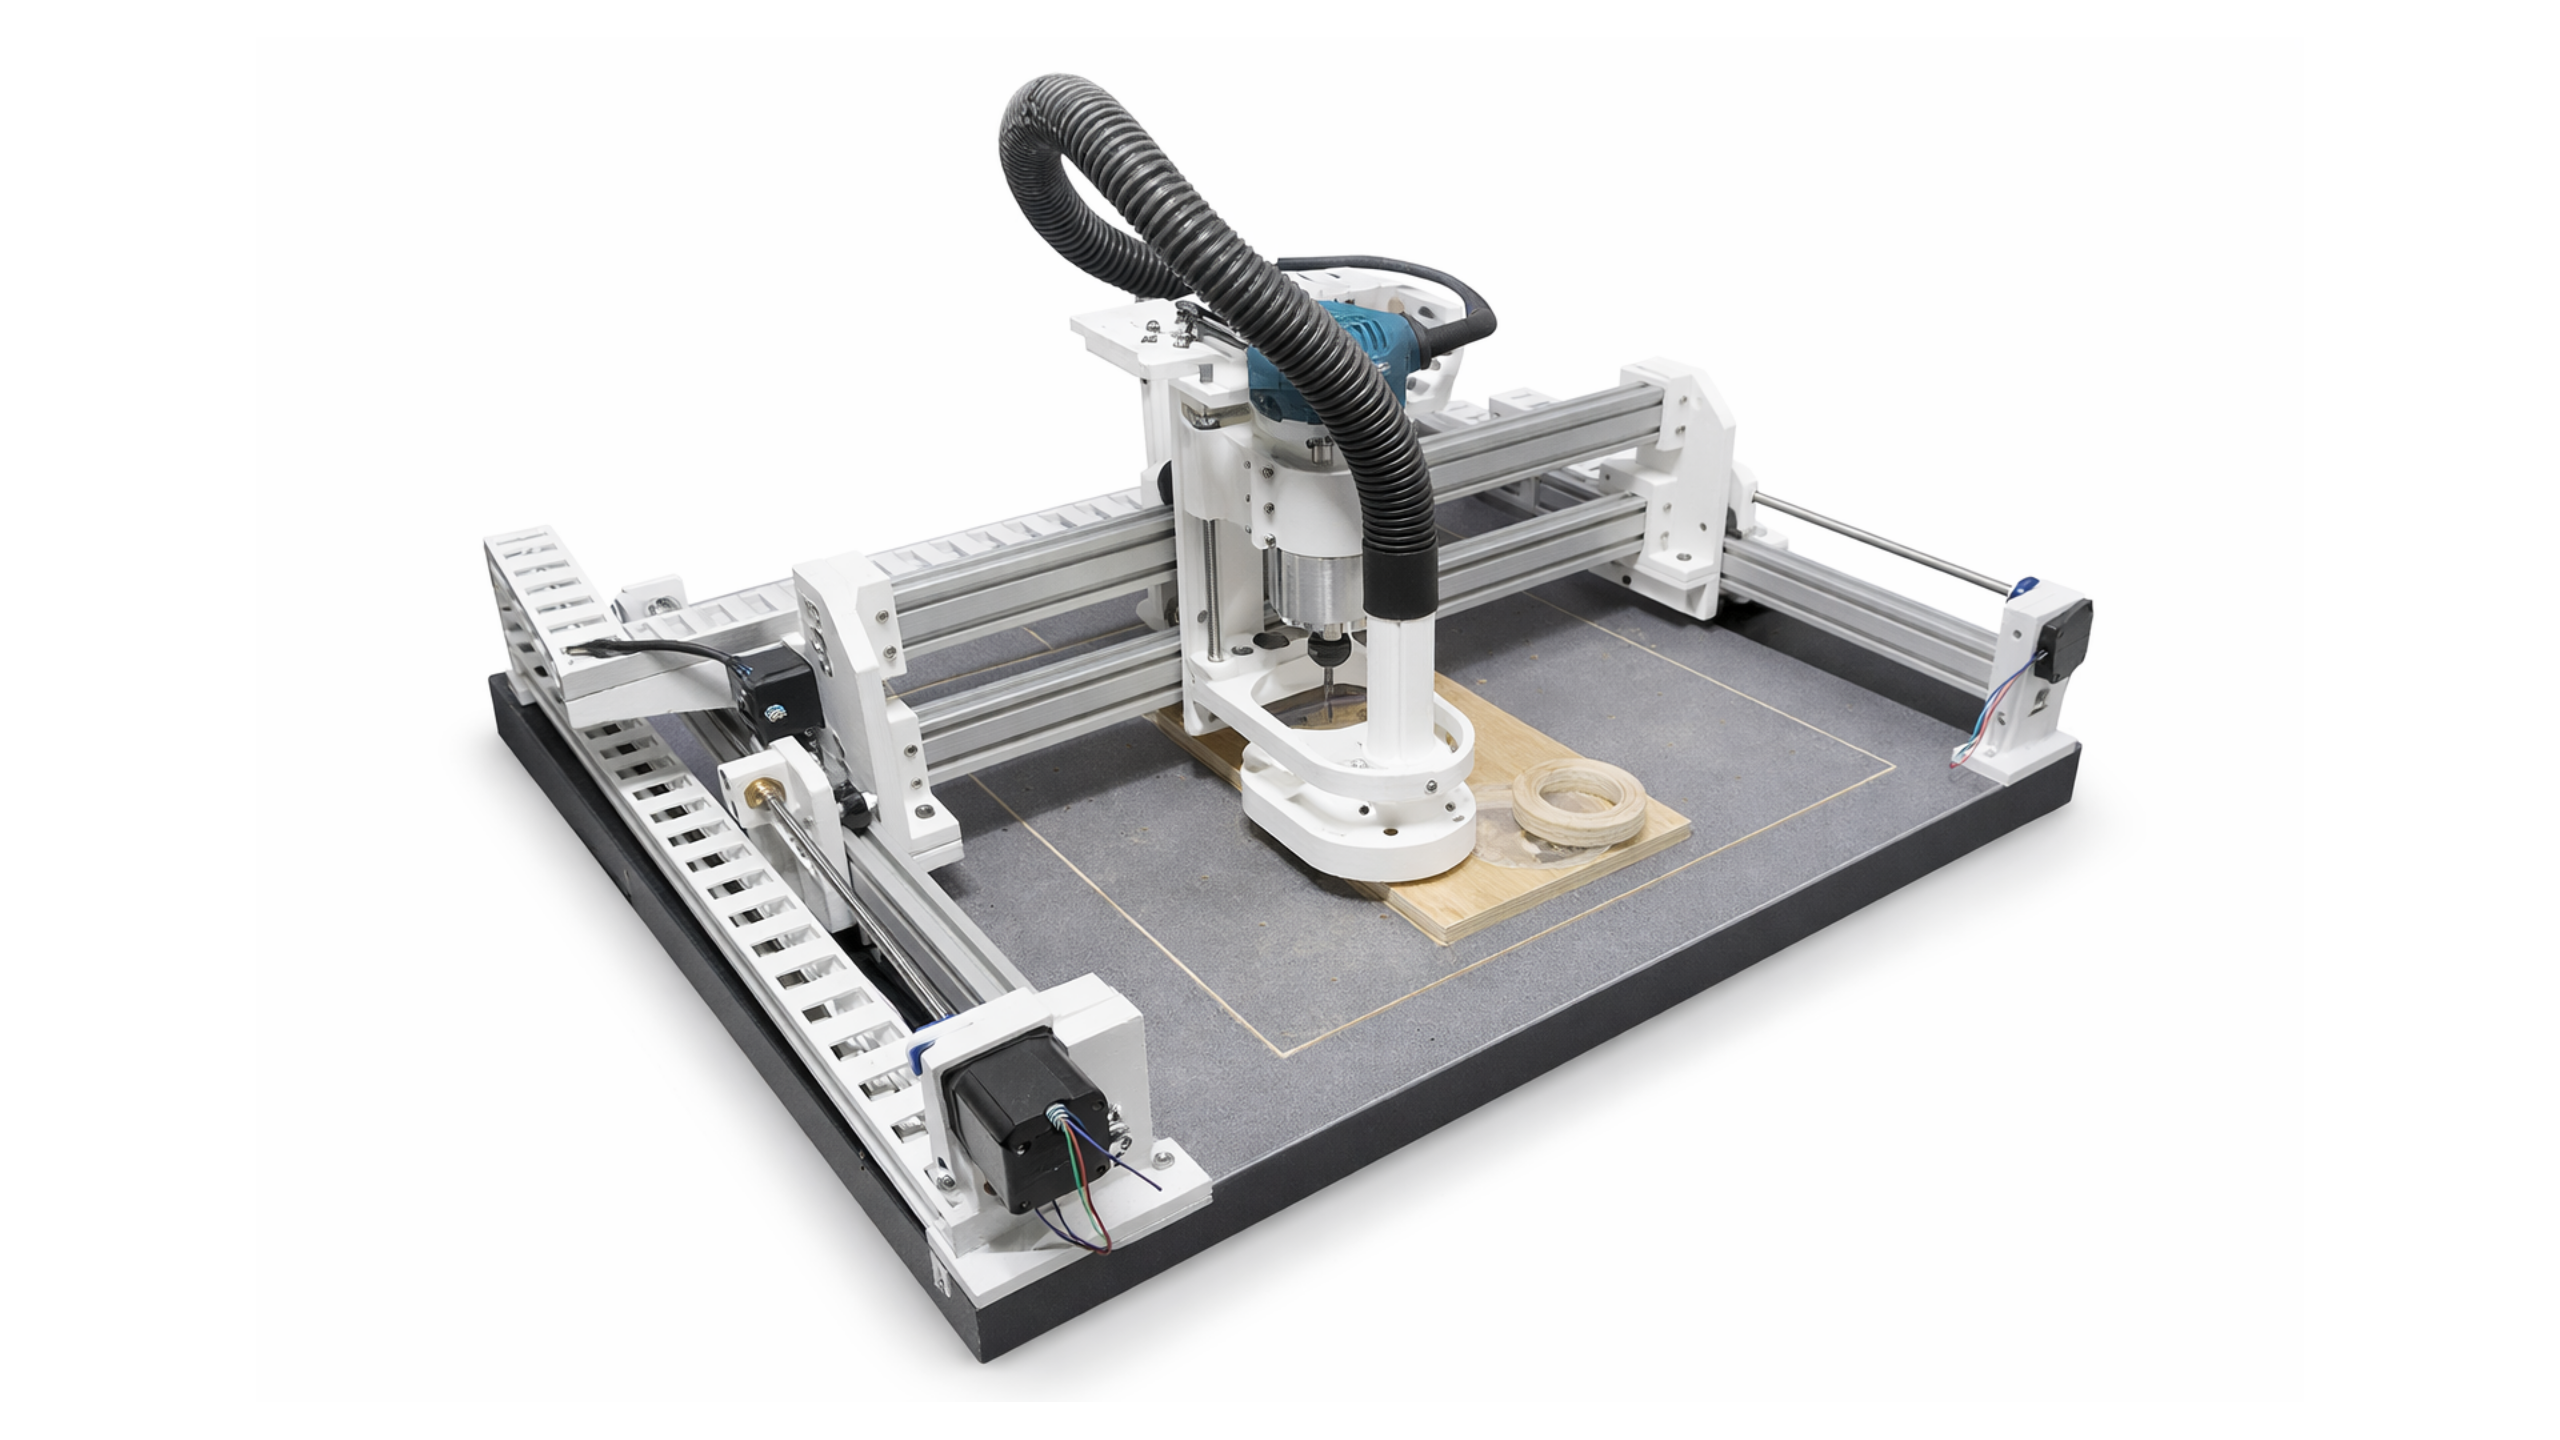
Après la première version de la TopsCNC, j’ai voulu aller encore plus loin en créant une machine CNC plus lourde et plus stable : la TopsCNC Heavy.
Je suis resté dans le même esprit que la TopsCNC, utiliser des éléments faciles à trouver et adaptés à une fabrication DIY — comme des profilés aluminium V-Slot et des vis trapézoïdales T8, associés à des composants électroniques classiques (Arduino + GRBL).
Évolution
Comme pour la TopsCNC, il y a eu quelques itérations et upgrades sur cette Heavy.
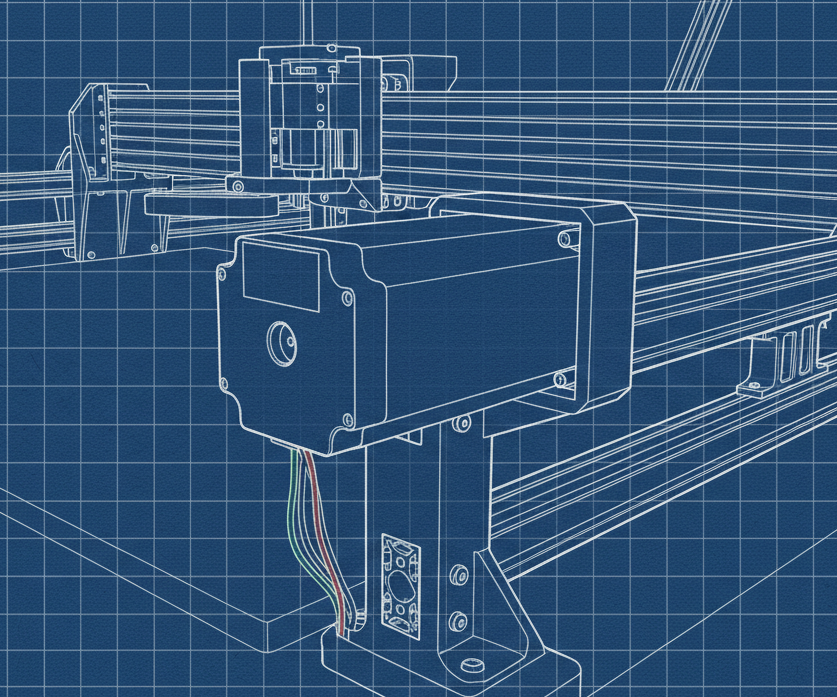
- La version de base est la version "NEMA 17", avec laquelle j'ai eu des résultats satisfaisants. Si tu comptes faire une machine de 1m - 1.2m et plus ou faire des opérations d'usinage qui demandent un peu plus de couple, tu devrais jeter un œil à l'upgrade Heavy Nema23.
- L'amélioration de "blocage" de vis trapézoïdale (compatible uniquement avec la version Heavy Nema23).
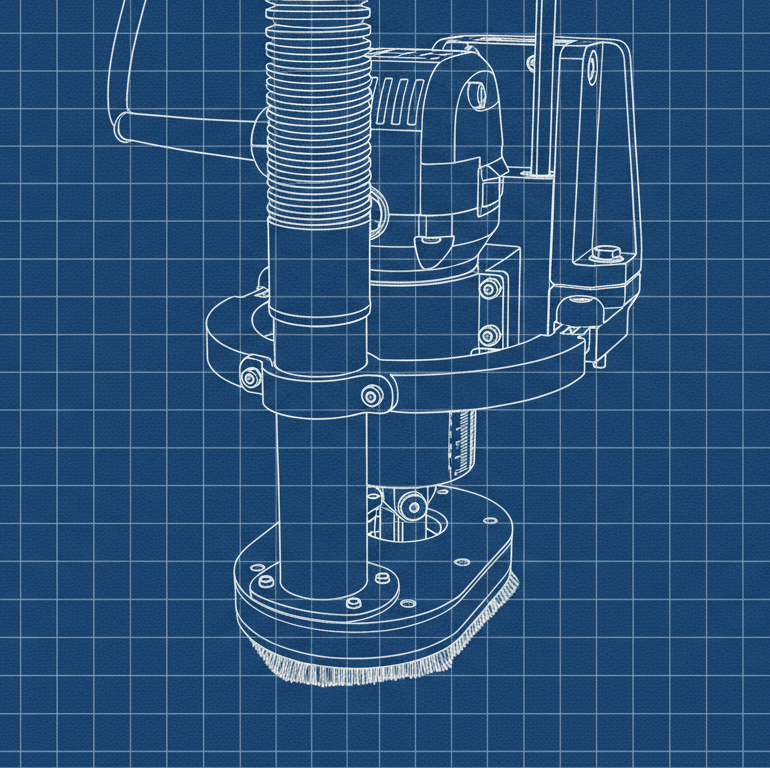
- La version "MoreDepth", qui permet d'avoir un chariot Z plus haut et plus de profondeur de coupe.
Fabrication
Voici les liens des pages de fabrication des différentes versions et upgrades :
TopsCNC HEAVY
Les plans de la TopsCNC Heavy
TopsCNC Heavy : MoreDepth
Plan de l'upgrade MoreDepth de la TopsCNC Heavy
TopsCNC HEAVY : Nema23
Upgrade permettant d'utiliser des Moteur Nema23 sur TopsCNC Heavy

TopsCNC Heavy Nema23 : Anti-backlash
Upgrade pour TopsCNC Heavy NEMA23, empêchant les axes d'appuyer sur l'arbre moteur
Pour aller plus loin
Si tu cherches une machine encore plus lourde et plus capable, peut-être que ma version "TopsCNC Heavy Metal" peut t'intéresser :
TopsCNC HEAVY
Présentation de la TopsCNC Heavy
Si tu cherches une machine plus légère et moins coûteuse, peut-être que ma première version "TopsCNC" te suffira :
TopsCNC
Présentation complète de la TopsCNC
Vidéos
Voici les vidéos YouTube associées à cette machine :