
Hey guys so I got some screen shots of whats going on so far. Not finished but pretty close with the rough assembly. Things still to do:
- Finish the cable chain mount on gantry
- Design wheel spacers for the delrin V wheels
- Design vacuum system for larger spindle
- Document all screws and screw lengths since a lot of them did change
Anyways I have taken Topsie's 3D files and began to convert them over. A few main reasons I wanted to modify the design:
- Wanted a large spindle (Currently modeled for a 2.2kW watercooled Spindle)
- Wanted NEMA23 Stepper motors (Currently modeled for 3A steppers)
- Wanted T10 or T12 Leadscrews (Currently modeled for T12 12mm leadscrews)
- Cutting Aluminum will be common on this machine
These desires created a whole lot of changes to the original files:
- The Gantry saw a whole lot redesign, which uses larger 10mm guide rods, larger bearings, and the whole carriage assembly for the Z axis to be lengthened by 50mm to help create more rigidity (reduces "slop" effect of bearings). How the Z axis motor is mounted is flipped back down and tucked into the gantry for a cleaner look.
- I also tucked in some interfering screws that were caught by another user on the X axis mounts. These screw would rub into the Y axis extrusions.
- The Feet for the design were modified and reinforced a bit for the larger steppers.
I am shooting for a ~1950mm x ~1350mm working area, so I am trying to make the frame as rigid as possible. I have a few tricks to help strengthen the design:
- Printed parts EXCEPT the spindle mounting parts will be printed in Carbon Fiber PLA. Maybe the Stepper motor mounting locations as well if they will run warm or not.
- Remaining parts that will see higher temperatures will be printed in Carbon Fiber PC.
- Y axis extrusions will have center cavity filled with epoxy resin mixed with chopped fiberglass. (Maybe X axis extrusions too?)
I am sure I am forgetting some stuff but wanted to show some progress on the design. Very excited to tidy up the remaining parts and begin printing :)
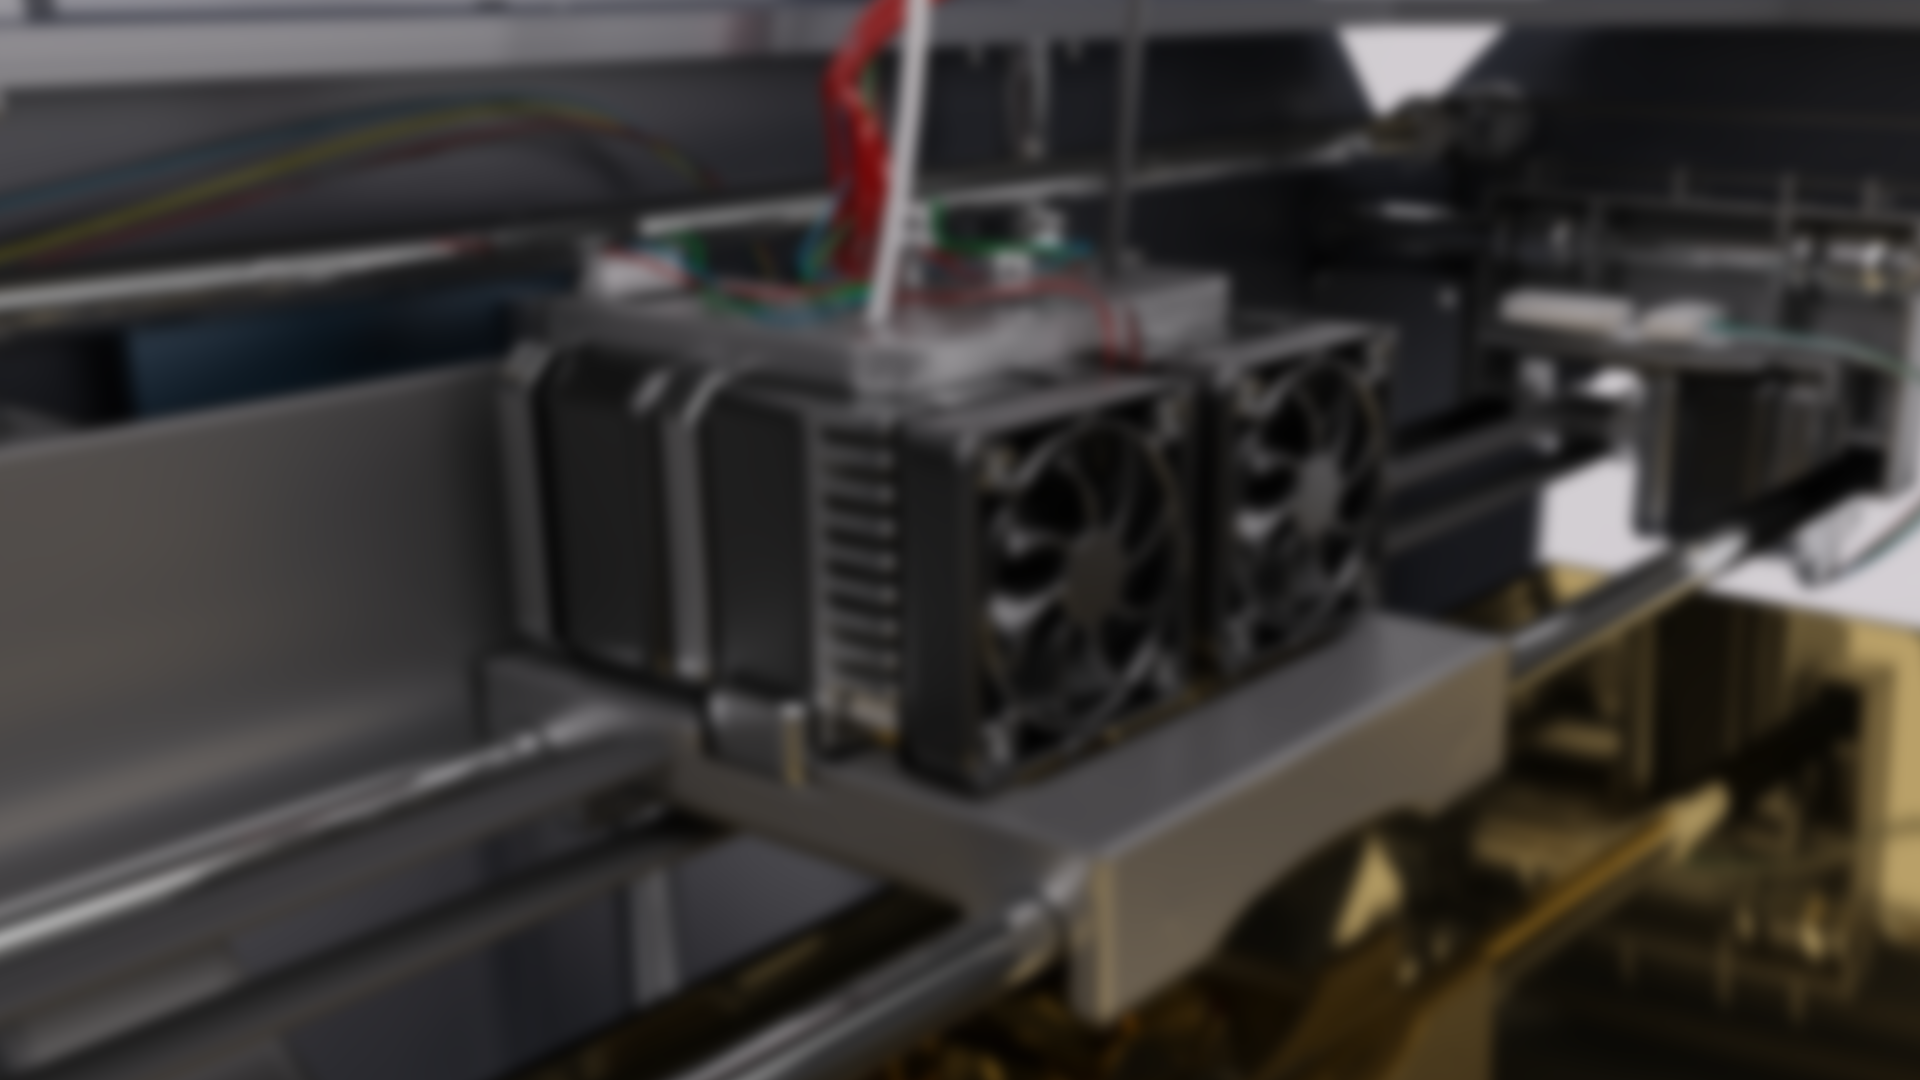
Below are some simple screen shots to show I have been doing something XD
I also have attached a STEP file for anyone who wants to take a look at the assembly. I will upload a full parts list and such with STEP files when I am finished :)
LASTLY, PLEASE PLEASE provide any feedback. I am not perfect and look for any improvements.
Cheers,
Dustin
Link to Photos and STEP file: Link
Holy shit, that looks beastly! Nice work man! Really wanna see this thing built and cutting :D What are you planning on cutting with that? Mine will be much more modest, but then I have modest needs (decorative wood carvings on furniture parts and whatnot)
Thanks @criticaldistance. About 2 weeks of modifying so far with finding free time :)
Hello Dustin,
Nice work, I downloaded the step and made some .stl, but it will be me
impossible to print the largest parts because my printer like that of
many Makers have a 200x200x200mm printing cube. Can you predict
some large parts in several parts because it will not be possible to
make this version? it's a shame for me because I already have the engines
nema23!
Good luck
Dan
Bonjour Dustin,
Beau travail, j'ai téléchargé le step et fait quelques .stl , mais il me sera impossible d'imprimer les plus grosses pièces car mon imprimante comme celle de beaucoup de Makers a un cube d'impression de 200x200x200mm. Pouvez-vous prévoir certaines grosses pièces en plusieurs parties car se ne sera pas possible de fabriquer cette version? c'est dommage pour moi car j'ai déjà les moteurs nema23!
Bon courage
Dan
Hello H7p62,
I can look to make the modifications after the full design is done. Maybe Topsie is a step ahead of me with his version?
I know that the Y axis interior top parts have an exterior dimension of 240mm, and thats mainly due to the NEMA23 Stepper mount. Could likely remove that as a second component.
Dustin
I think Topsie is working on it, I am also looking at the modification of a certain part, notably the upper part of the Y, I think it is possible to make the upper part of the Y with 4 wheels well apart, the 3 wheels in the lower part is a good thing, you must remove the part that supports the cable chain to the location of nema23 and add a piece like topsie did in the nema17 version, it will print it in 200x200.
Je pense que Topsie y travaille, je regarde aussi la modification de certaines pièces notamment la pièce supérieure du Y, je pense qu'il est possible de faire la pièce supérieure du Y avec 4 roues bien écartées, les 3 roues en partie inférieur est une bonne chose, il faut supprimer la partie qui supporte la chaine porte câble vers l'emplacement de nema23 et ajouter une pièce comme topsie a fait dans la version nema17, ça permettra de l'imprimer en 200x200.
Dan
I working on it, maybe release it tomorrow
Edit : I just saw the name of this topic 😂
Whoops sorry didn't think much of it posting this XD
I am anxious to see your changes Topsie :)
It's almost finish, I begin to print parts
See this is a perfect time for a like button!
Very excited to see the revisions. Best of luck!