
Cant wait to see your work @Dustin !
Yeah @criticaldistance I think make a upper waste board on 40mm aluminium profil it's a good idea.
And you know what ? I will order some 2040 profil with same size as my X axis working size ( 110cm), put them paralelle and screw on a 110x90cm 18mm thick MDF board !
Thanks for the idea, surely better than my 3D printed clamp for the larger plank to cut
@criticaldistance, I think you will have a good base with the 2040 extrusions, good idea. I will probably still be building a hard-wood table for mine to be mounted to. I have big plans to make this whole CNC Table fold up onto the wall in my garage to keep garage space.
And awesome catch on the washer ID. Also make sure you size up the original hole dia for the bolt in the printed parts. ;)
So there's this... Sorry, been learning more Fusion360 features :)

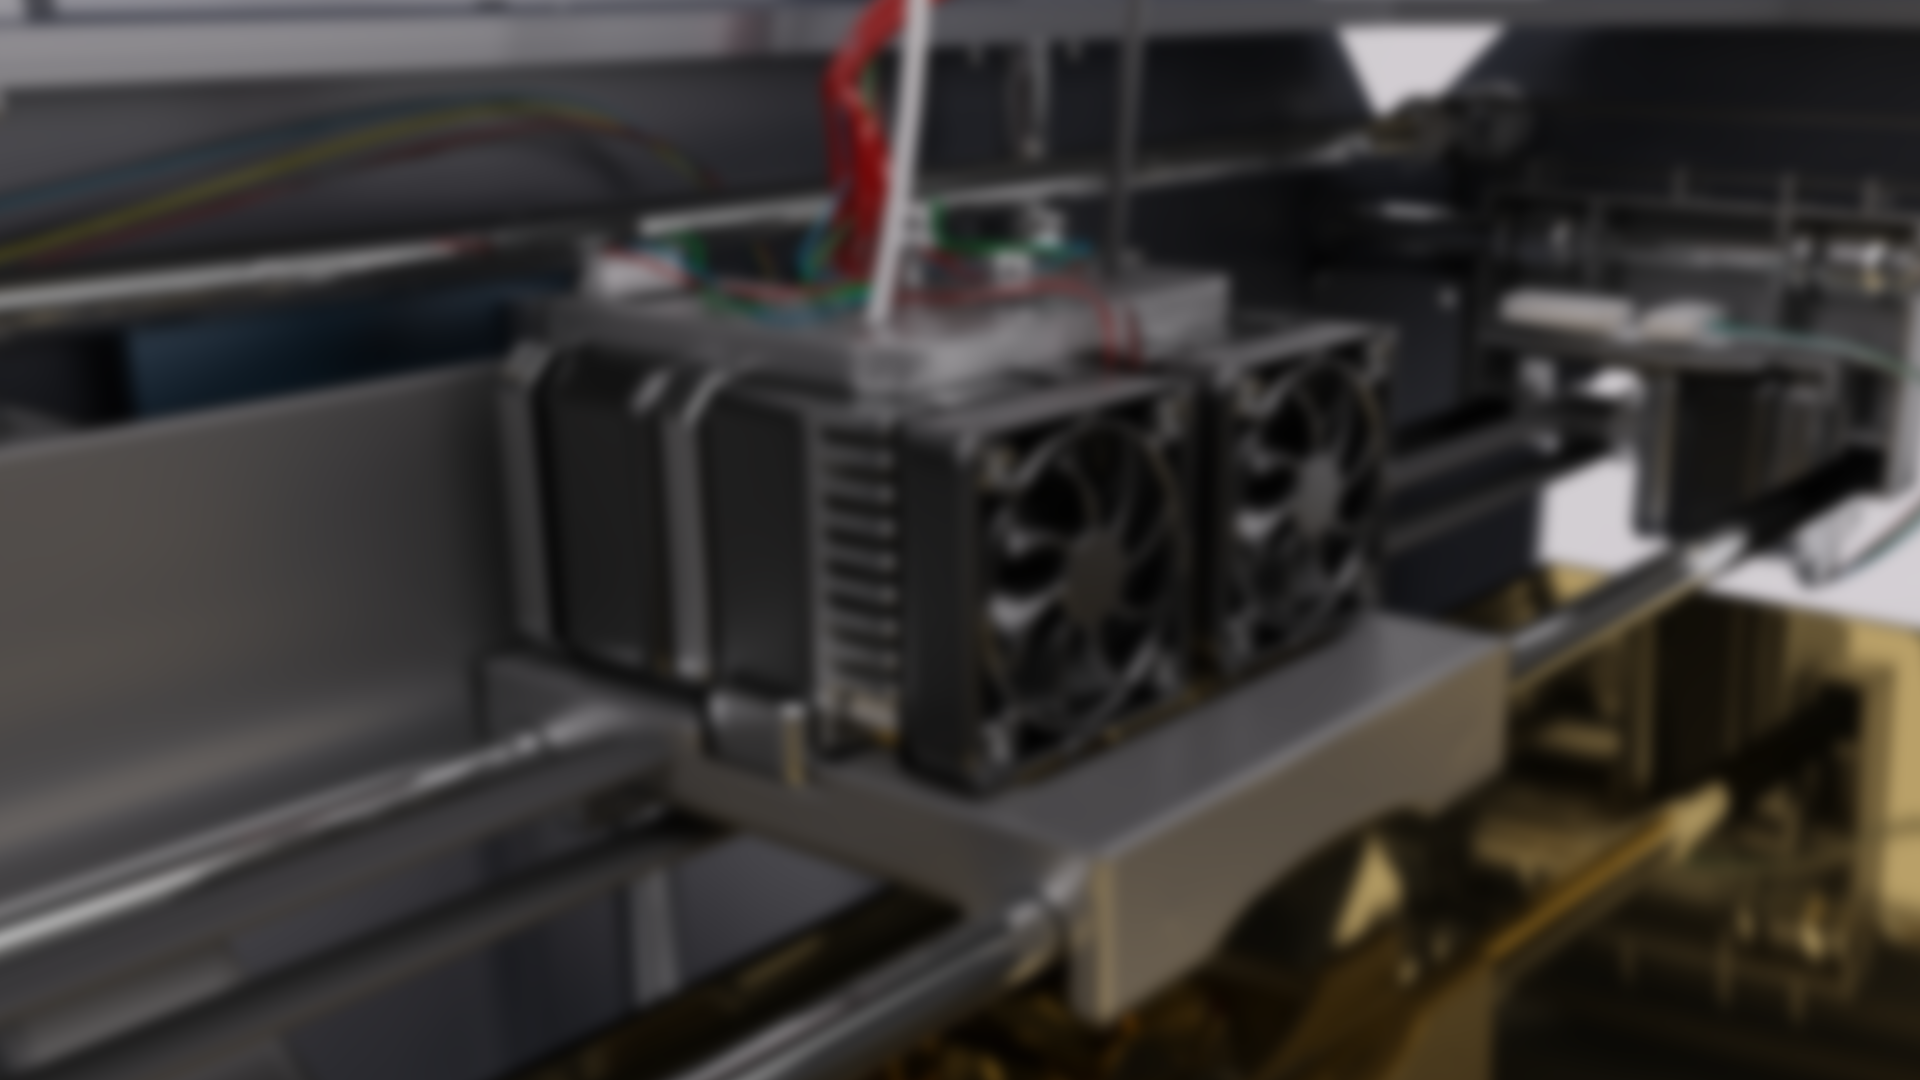
I'm planning on using aluminum spacers, i have a bunch of 6mm and 9mm already so might as well put them to good use right?
Might still have to use shims to space the top and bottom gantry components to give some wiggle room for the eccentric nuts... I can nudge the holes slightly, but without being able to fit test, I don't really know how far to move them. Don't wanna accidentally move them too far and not have enough adjustment on the eccentrics (i think they are 1.5mm of adjustability) and I don't want to have to reprint the parts multiple times and waste plastic...
For the final parts I'm thinking to resize those top holes for the eccentric to maybe 1 or 1.5mm just to mark the position, and use a modifier in prusaslicer to do a 20mm diameter solid infill around that tiny hole so I can counterbore with a forstner bit and do the through hole with a 7mm bit after...
@criticaldistance you can make a test part to fit over a 2020 extrusion if you are worried about wasting a lot of plastic. Ideally you only need to size up the holes the maximum adjustment value, maybe even a little bit extra to compensate printing error.
And fancy Fushion 360 animation. I really should learn that in Solidworks. I know there is a way to do it. Just never use it.
I think you are really focusing on insignificant thing ^^ The tightening system is really effective, even more on Y axis.
The only wheels which dont spin are the center wheels on X axis, because of little bend of 80mm screw.
Excentric nut are usefull on 3D printer, but I think they are very sensible to vibrations of machining...
can you please explain how they are more sensible to vibrations? I have not heard that before... I will be cutting some pretty hard exotic woods and occasionally aluminum. Could you post some more videos of cutting aluminum with more suitable conditions? Maybe some harder wood also? As far as I know you are the only one with a working machine so far :)
A excentric nut press a wheel on rail, so it have a counter force which tend to move back the nut. While the machining, some vibration will appear inevitably. (more or less important depend on your milling parameters and the hardness of what you mill)
In my opinion, the vibrations will give the opportunity to this counter force to move back the nut then loosen your wheels. Because on 3D printers, It's a common thing to verify and tightening again the excentric nut after many prints. And you don't get lot of vibrations on 3D printers.
So my idea was to "press" the wheel against the rail, with screw and anti-vibration (NylStop) nut, which are made to counter vibrations.
In my opion (again) the rigidty of the machine dont depend if the side parts are made of 1 unique part, or if they are cut in 2 parts screwed together. And that's because if your wheel is well pressed against the rail, it can't move left or right, it can only roll along the rail.
So the final machine rigidity (at the endmill) depend even more on :
All of this is based on my experiences (Not only with my machine butwith many other public machines) and my knowledges
And a Fun fact : During my research and developement process I tested this machine without the botom wheels on the 2 Y axis rails. The weigth of the X + Z axis and the spindle (not the makita, a 500W chinese spindle), was sufficent to press the wheels on the rail and cut a piece out of softwood pretty well.
I have to agree here with Topsie, but I won't say your correct with out proof. @criticaldistance get to prototyping! ;)
Curious about your feedback on those SS V Wheels. I have my opinions on them but curious on your results first, As I have never used them.
Also I was thinking about this last night, if you create a spacer that is the correct width so that the compressive load is not on those m5 screws (X axis) then they should have less of a chance to bow when you tigthen them, right?
hey just wondering how you did your wiring from the controler to the nema 17 moters what gauge and did you use a sleeve.
@Jack d, 20AWG or lower is fine. I usually try to use 18AWG for safe measure.